| Table of Contents |
|---|
...
To begin creating a message with the new BEE editor from your platform, click on Messages > Email, then click on "NEW EMAIL" and then click "START DESIGNING"

Drag-&-drop templates
...
| Excerpt |
|---|
Build your message starting from:
For basic or rich templates, you can:
In the "My Templates" section, you can also edit or delete templates. |

...
Create the message
Creating a message with BEE is very easy.
...
Click on the icon on the right of the toolbar to expand it to "advanced" mode. Here you will find additional text editing tools, including advanced features such as merge tags (e.g. "Dear [firstname],").
| Info |
|---|
We would like to inform you that Google fonts are available to you in order to further customize your message. Please be aware that if you use them, your recipients' IP addresses may be tracked by Google. Further information, can be found at https://developers.google.com/fonts/faq in Google’s privacy policy at https://www.google.com/policies/privacy. |
Structure
The Structure panel includes different types of structural elements for your message. Think of them of a way to create different sections of the message.
For example:
- A single column section at the top with a hero image
- A two-column section in the middle, with a recent product announcement
- A three-column section in the lower part of the email, with some product information
- Etc.
Unlike content blocks available in BEE v1, the new structures provide much more flexibility and customization at both the row and column level.
Also, you can now clone entire structures (for example, a picture, a button and a text) with all its settings and blocks. Previously you could only clone a single block of content.
...
| Info | ||
|---|---|---|
| ||
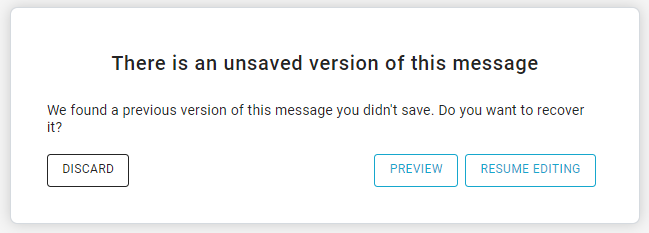
The platform every 30 seconds save automatically a copy of the message. If the editor is closed by mistake, once entering again in the editor a pop-up will ask you to resume editing, preview the message and then decide what to do or, directly discard it.
|
From the drop-down menu near the save & exit button you are also able to:
...
Content available in custom rows is retrieved through Sources created using a link (RSS/ATOM feed) or by uploading a .csv or .json file.