You can add a new individual recipient to a List easily by first selecting the List > Recipient > Import and clicking on the Add Recipient icon. From there data can be entered into the fields. Inputting data to all the fields is not required but recommended to allow for highly targeted messaging:
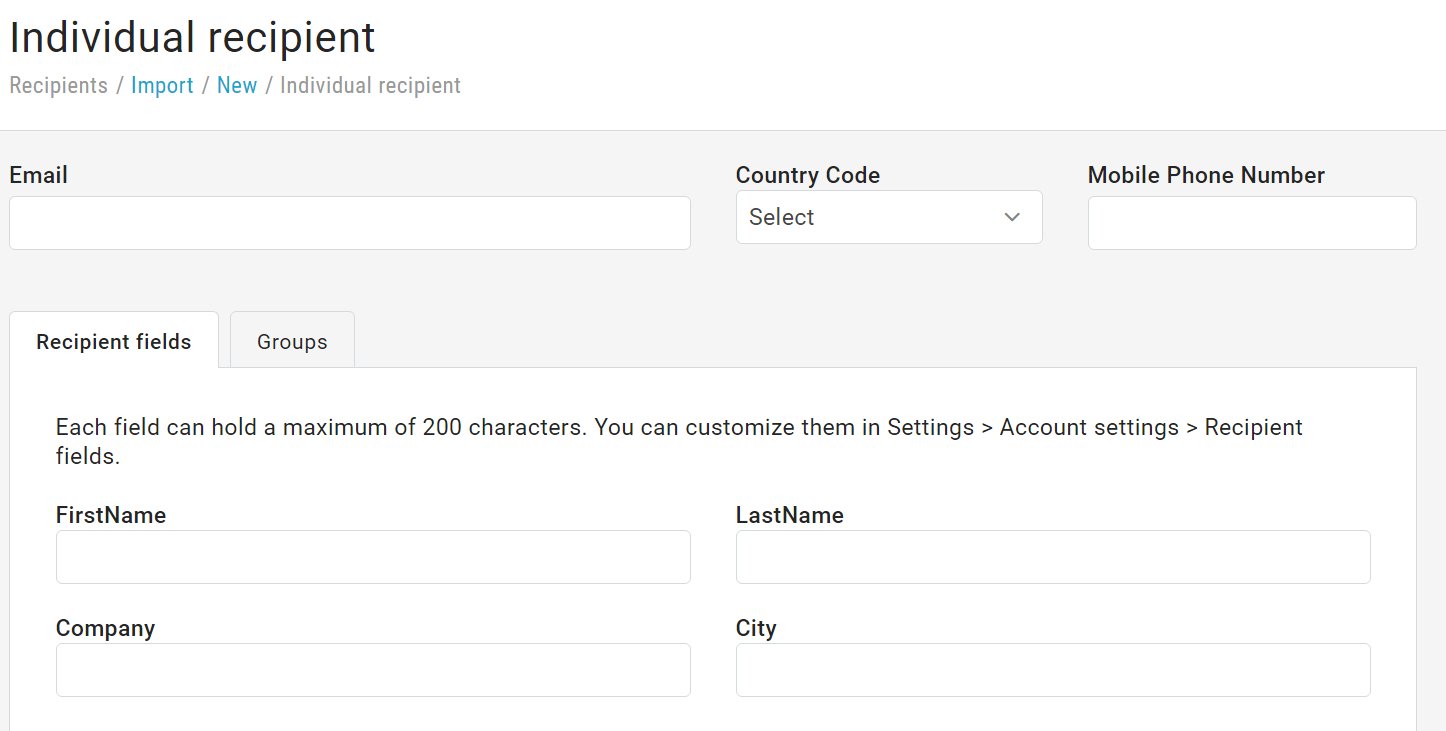
will be directed to Recipients > List, where a panel allows you to enter the recipient's email address or mobile number along with their profile information, then click "Add." This way, the user will be imported as subscribed.
If you select Send subscription confirmation request email, the MailUp system will automatically send the subscription confirmation message. In this case, the user will be marked as suspended, and once they click the subscription confirmation link, they will be set as subscribed.
Entering all the contact data is not mandatory, but we recommend adding as much information as you have to enable highly targeted messaging. To add fields, go to Settings > Account Settings > Recipient fields