Scaricare il plugin di installazione del pacchetto in ambiente di produzione al seguente url:
https://login.salesforce.com/packaging/installPackage.apexp?p0=04ti0000000AF1R
Nota: se si sta installando il pacchetto in una organization Salesforce sandbox è necessario modificare la prima parte dell’URL con http://test.salesforce.com
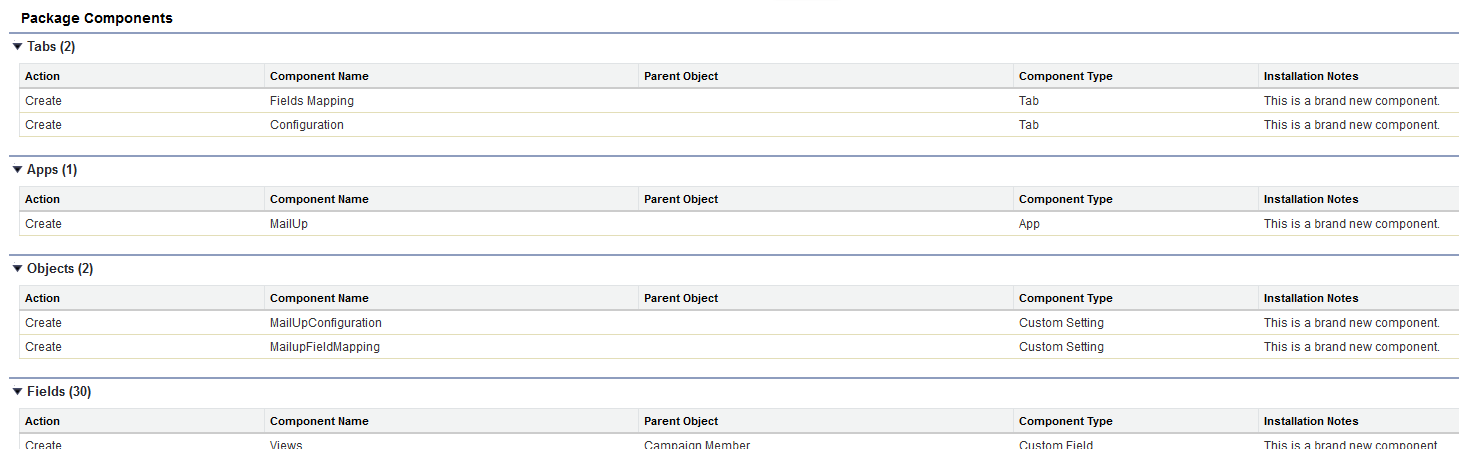
Verrà visualizzata una schermata che elenca i componenti che verranno installati nella org, cliccare su Continue.
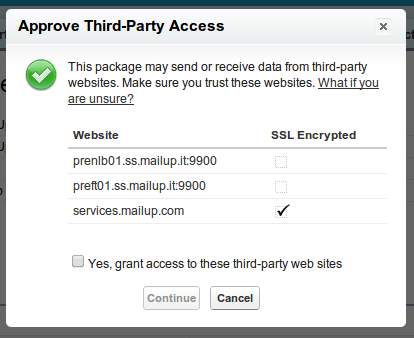
Nella finestra seguente autorizzare la comunicazione tra il connettore e i servizi API REST della piattaforma MailUp. Autorizzare gli indirizzi proposti selezionando il checkbox e cliccare su Continue.
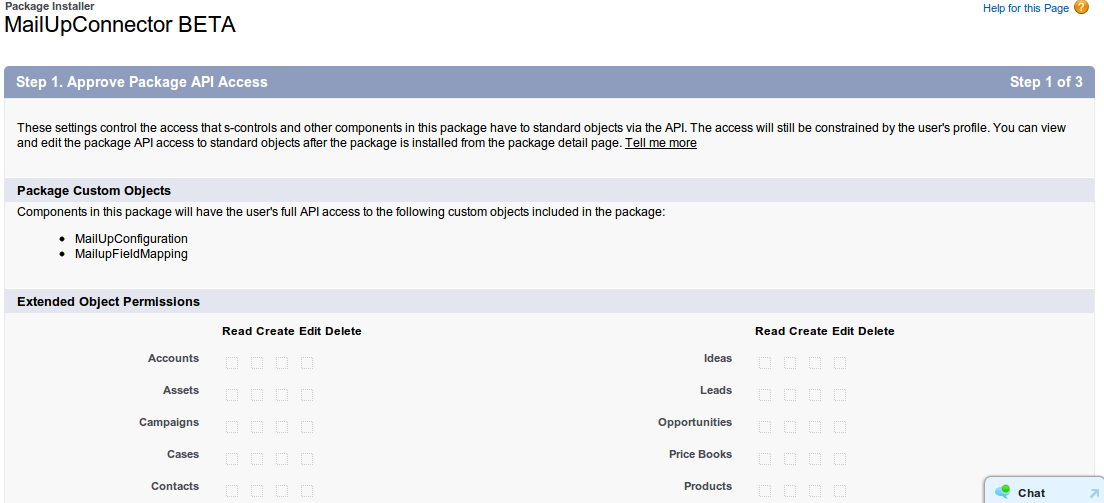
Nella schermata che riassume gli accessi necessari al pacchetto, cliccare su Next per proseguire con l’installazione.
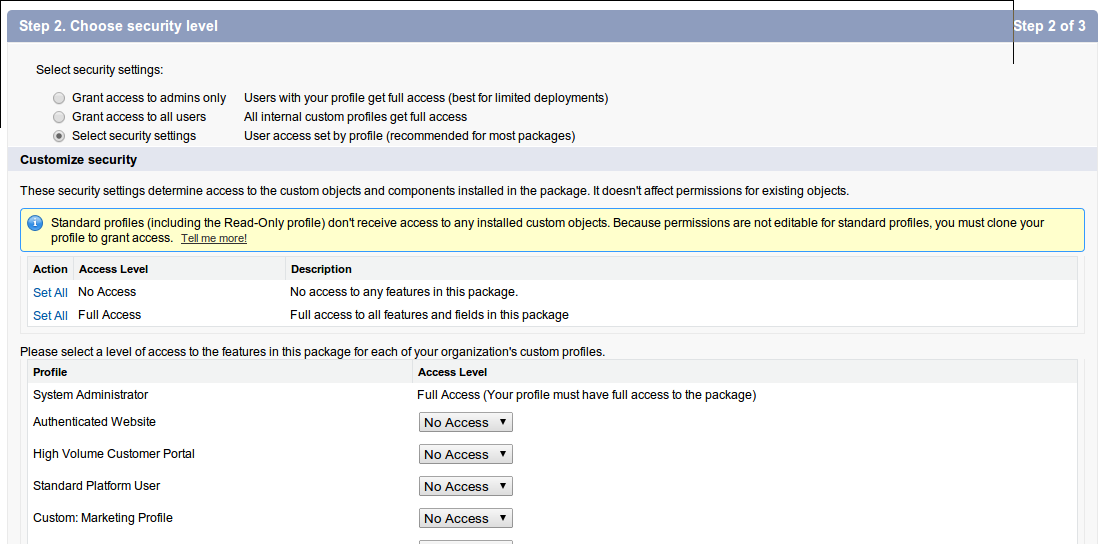
La successiva schermata prevede la possibile scegliere il livello di accesso all’applicazione da parte dei vari profili degli utenti. Selezionare il tipo di accesso desiderato e cliccare su Continue.
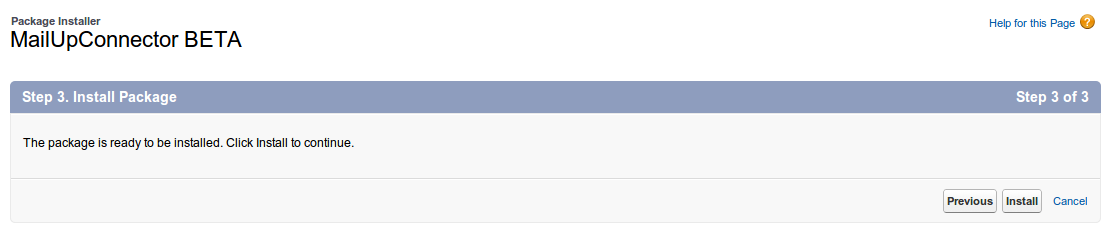
A questo punto il pacchetto è stato configurato ed è pronto per essere installato. Cliccare su Install per effettuare l’installazione vera e propria.
Al termine dell’installazione del pacchetto verrà data la conferma installazione.
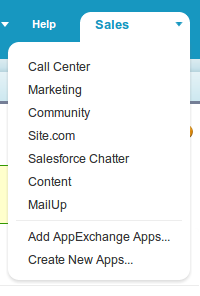
Da questo momento, all’interno delle applicazioni installate, comparirà anche quella di MailUp.
Configurazione dei campi nei Layout delle campagne e dei membri
Per poter utilizzare il connettore all’interno delle campagne e visualizzare i campi della sincronizzazione è necessario effettuare due ulteriori passi di configurazione.
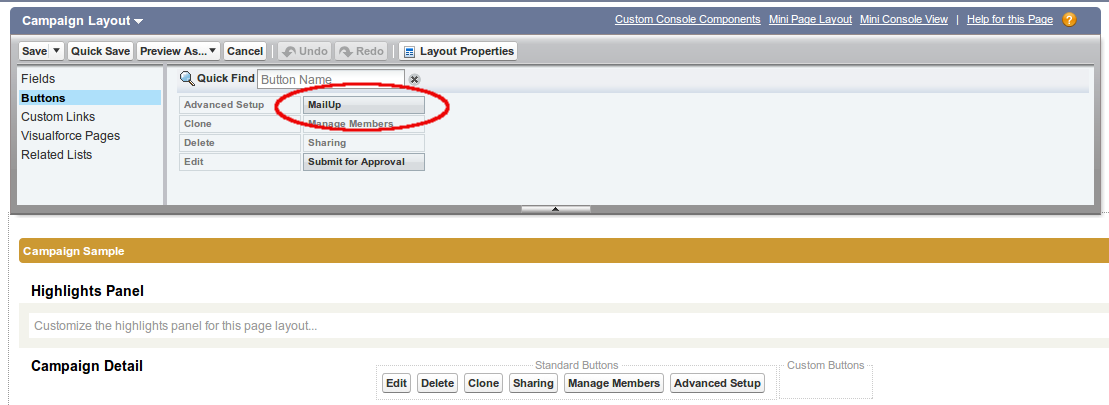
1) Selezionare il Campaign layout e modificarlo, aggiungendo il bottone di integrazione con MailUp come nella seguente immagine:
...
Next: please authorize the communication between your MailUp account and Salesforce by selecting the appropriate checkbox and clicking on Continue.
You will then see a summary of the API access requirements for this package. Just click on Next to proceed.
You can then define the access levels for your different users' roles: select the desired granted level and click on Continue.
You have now completed your configuration and can click on Install.
Once the installation has been completed, you will find the MailUp for Salesforce connector listed together with other installed components in the Sales menu.
Editing your Salesforce layouts
The next steps is to edit a few of the layouts used in Salesforce for use with the connector.
Campaign Layout
First you will need to edit the Campaign page layout.
Access the Campaign PageLayout: at the left column of your Salesforce console by selecting Build > Customize > Campaigns > Page layout.
First add a custom MailUp button to the page:
Click Edit and select the MailUp button (already available in your fields and buttons lists).
Drag it to the custom buttons area in the Campaign Detail section
Save the layout changes by clicking on the Save button at the upper left corner.
Next, you will add some new fields to the Campaign page layout
To do so click again on Edit, and select Fields.
Click on the Section button and drag it to the area you want the MailUp section to appear (normally below Campaign Details section)
A pop-up will appear to configure the section:
Name the section MailUp
Select the 2-column option (the tab-key order option doesn't matter)
Click OK
Now that you have added a MailUp section to the page, add the following fields to it by dragging and dropping the corresponding buttons into that section
MailUp total views
MailUp total clicks
MailUp total bounces
MailUp total unsubscription
...
...
The new MailUp section should look similar to this:

Click on Save to save the changes to the Campaign layout.
Campaign Member Layout
Follow the same process to edit your Campaign Member Page Layout.
You will find it under Build > Customize > Campaigns > Campaign Member > Page Layout.
Create a MailUp section by dragging the Section button into the Campaign Details section
Name it MailUp and save the edited layout.
Add the following fields to it by dragging and dropping the corresponding buttons into that section
Views
Clicks
Bounced
Unsubscribed
Impostazione campi anagrafici
Una volta installato il connettore MailUp, come primo passo, bisogna configurarlo all’interno del proprio profilo di Salesforce tramite la linguetta Configuration.
In questa pagina bisogna associare la propria console di MailUp al Connettore, inserendo i seguenti dati:
ConsoleID: codice di riconoscimento della console formato da 5 numeri (es: 12345)
Username della console MailUp: id dell’utente che usa la console formato (es: m12345)
Password della console MailUp: la password utilizzata per accedere alla console
Endpoint URL: l’indirizzo della console (es: http://b0x5a.s42.it )
Una volta inseriti, e salvati con l’apposito pulsante, tutti i dati richiesti si può cliccare su Activate console.
Attenzione: è possibile associare una sola console al proprio account Salesforce e in automatico il CRM verrà associato alla lista n.1 della piattaforma. Questo significa che tutti i destinatari importati da Salesforce e i messaggi creati si troveranno sempre nella prima lista della console in Destinatari > Gruppi e in Messaggi > Email > Elenco
A questo punto possiamo andare ad associare i campi anagrafici della nostra piattaforma MailUp con quelli di Salesforce. Lo facciamo tramite il menù Field Mapping.
...
The new MailUp section should look similar to this:

Click on Save to save the changes to the Campaign Member layout.
Connecting Salesforce to your MailUp account
It's now time to connect your Salesforce organization to a List in your MailUp account.
Use the new Configuration tab to configure the MailUp for Salesforce connector
Connect your MailUp account
Choose the MailUp List ID that you wish to connect to. It's a number and you can find it in your MailUp platform next to the list name, in the list selection dropdown.
| Warning |
|---|
WarningMailUp is a multi-list environment, but you can only associate with your Salesforce organization one MailUp account and one List within that account. Any contacts or message that will be exported from Salesforce into your MailUp console will be available within that List. |
Upgrading from v1.73 (or below) to v2.3
Since authentication method has changed starting from v2.3, if you're upgrading from a previous version, there are four steps you need to take:
STEP 1: Installation
Go to the installation link to upgrade your installation to version 2.3. If required, log in to your Salesforce organization.
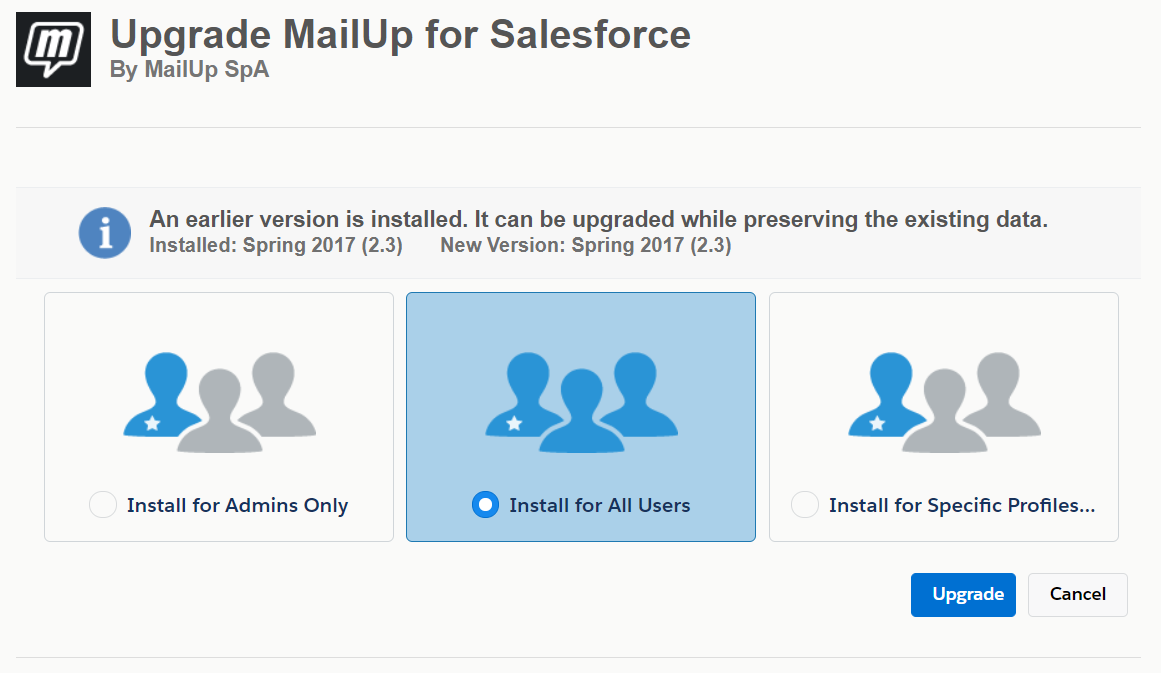
Choose if you want to install the package for all users, admins only or just for specific profiles, then click Upgrade.
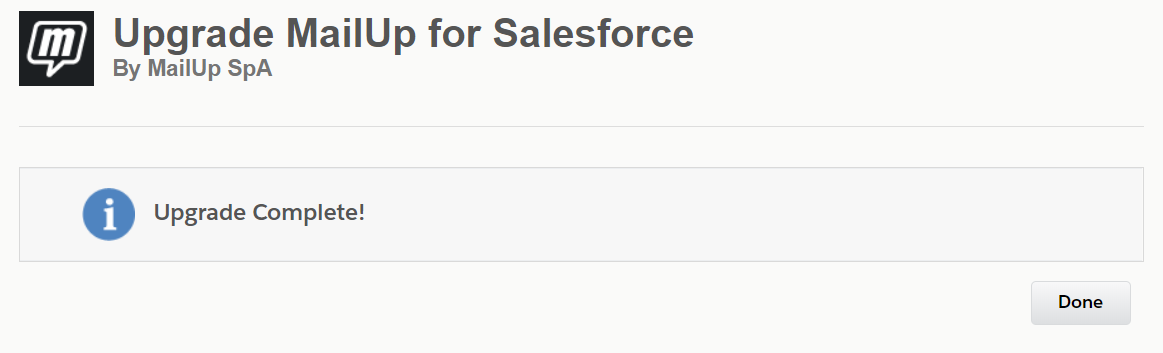
The upgrade process will take a few moments. A confirmation screen will let you know when it's over. Click on Done to proceed.
STEP 2: Authentication
After the upgrade, you'll be taken to the "Installed packages" screen in your Preferences. From here, click on the "Configuration" tab, as shown below.
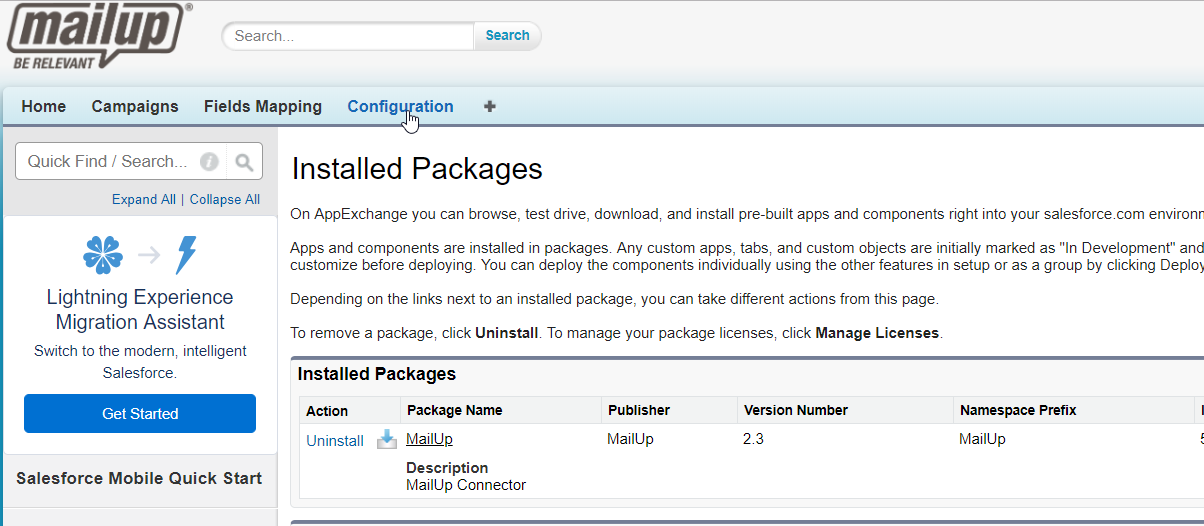
Now click on "Login with MailUp", to re-authorize the connector on your MailUp account.
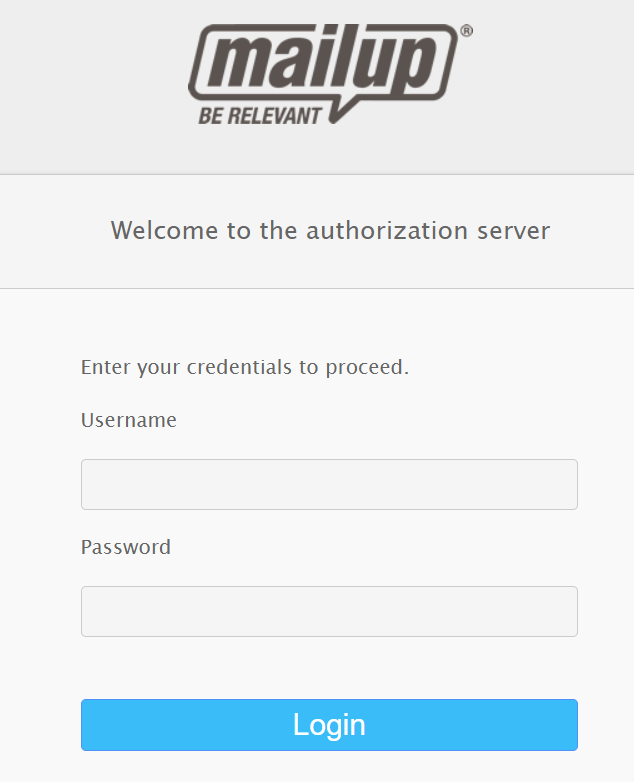
Enter Username and Password for the MailUp account that was previously connected to Salesforce and click "Login", then on "Confirm".
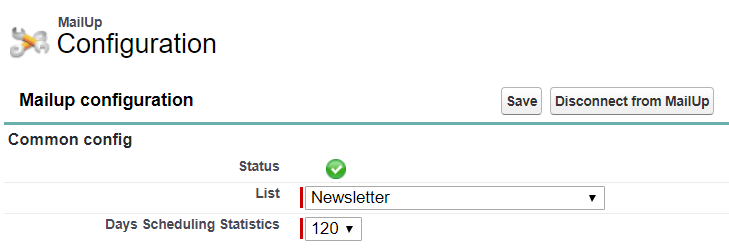
STEP 3: List configuration
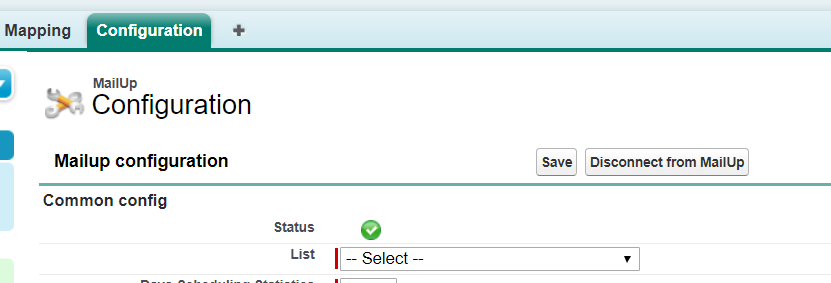
Once the account is reauthorized, you will redirected to your Salesforce org. A green tick near Status will confirm that the authorization process was successful.
Now you will need to choose the MailUp list that will be used by the connector.
Since you're upgrading from a previous version, make sure you select the same list that was connected before the upgrade, then click "Save".
STEP 4: Check fields mapping
Now click on "Fields mapping" Tab, to ensure that the fields are mapped exactly as they were before the upgrade process.
| Anchor | ||||
|---|---|---|---|---|
|
Your Salesforce organization is now connected to the list your specified in your MailUp account. The bottom of the Configuration page has another section called Schedule Task.
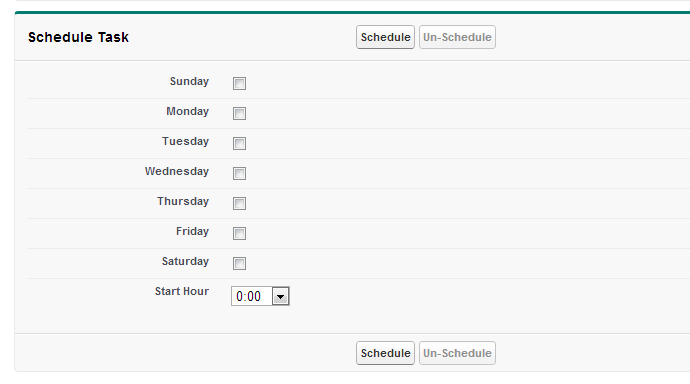
This section is meant to allow you to schedule an import of your email campaign statistics. The statistics will be retrieved once a day at the time you specify after you sent your campaign.

You can select for how long the sync will be active, by chooosing a days value (between 1 and 120) in the Configuration.
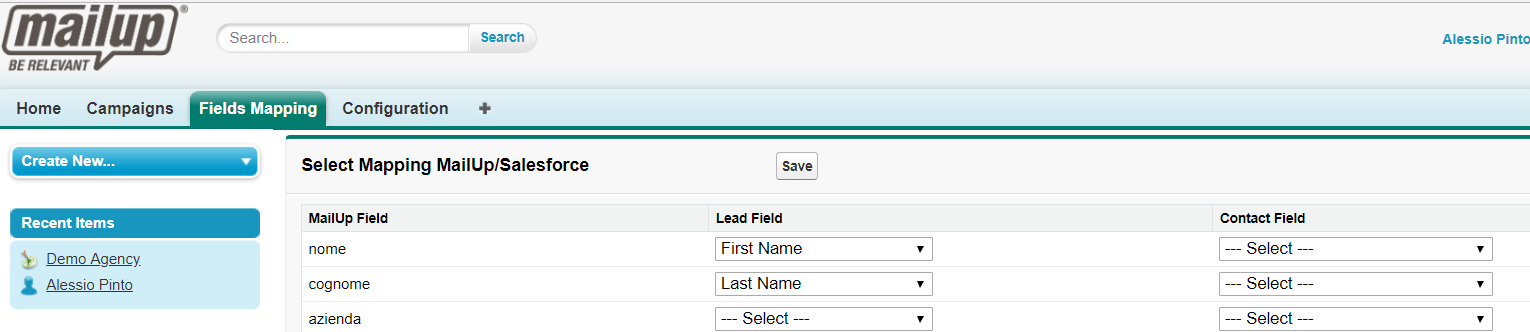
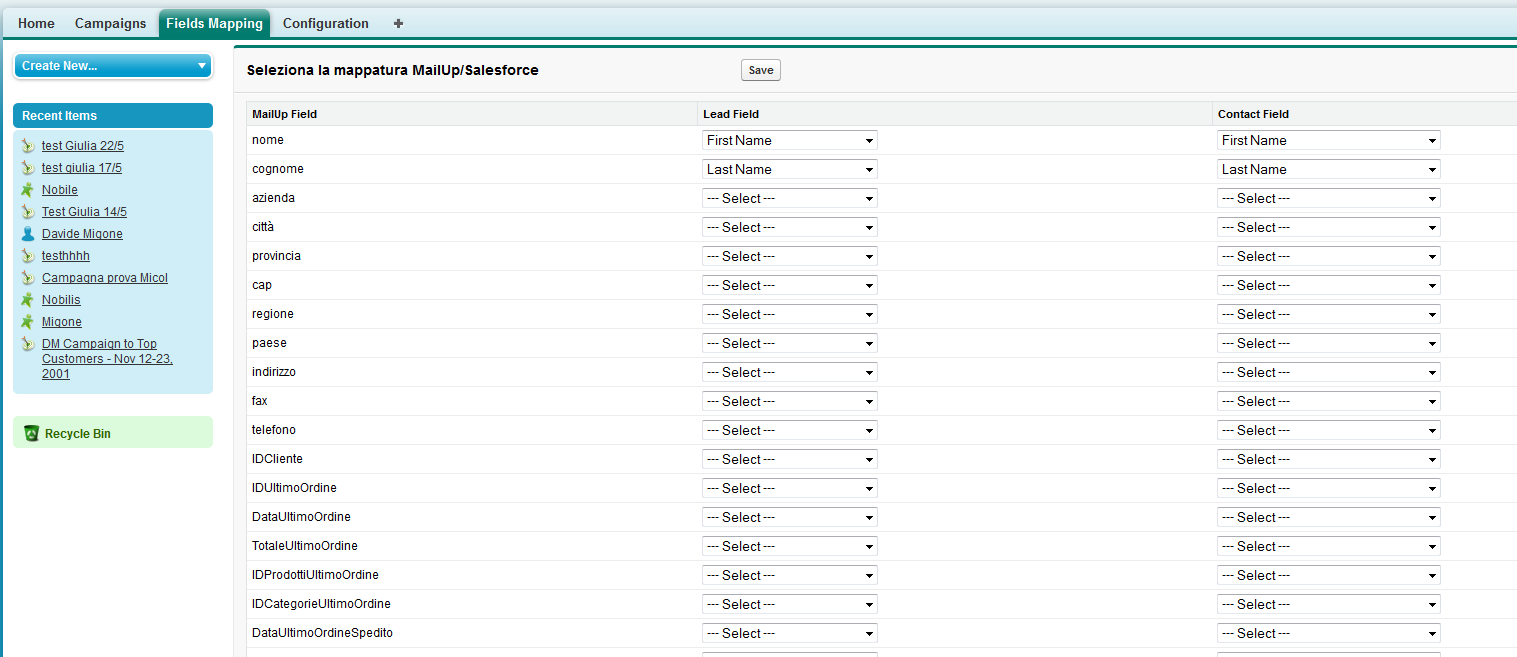
Mapping fields
Finally, you will want to map fields between your lead and contact database in Salesforce and your recipient database in MailUp (learn more about custom recipient fields in MailUp).
To do so, click on the new Field Mapping tab in the navigation.
On the left you will see the recipient fields imported from MailUp
In the second and third column you will see Lead and Contact Fields
Map the ones that are relevant to you: when campaign members are pushed to MailUp during the setup of a MailUp campaign in Salesforce, the data contained in the fields mapped on this page will be copied from Salesforce to MailUp.
You do not need to map all the fields
When you are done, click on Save at the top of the page.
| Warning |
|---|
WarningDo not map the email address as this is already mapped by the code as the unique identifier of your contact! |
You're done!
You've completed the installation and configuration of the MailUp connector for Salesforce.
You can now start your first campaign!