New Email Message
 | The new email message page is commonly used to craft all aspects of your email message, from layout & design to more technical email tasks. The page is virtually identical when creating a new message and editing an existing one. For a complete guide on email marketing best practices view the Email Marketing Resources, which includes:
|
Using the Email Editor
The built-in editor allows you to:
- Create an email without having to code in HTML with Design view (view screenshot).
- Build your email in HTML language with Code view.
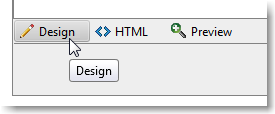
In alternative, you can work in another application, such as Adobe Dreamweaver or similar, and then copy & paste the HTML code directly in the Code view of the built-in editor.
The built-in editor has numerous useful features, including:
- Uploading/editing images
- Inserting/removing links
- Inserting dynamic fields
- Inserting dynamic content
- Insert link to web version of message
- Add a subscribe / unsubscribe link
- Insert profile updates link
- Paste from Microsoft Word
Using the Image Manager & Image Properties
Image Manager | Image Properties |
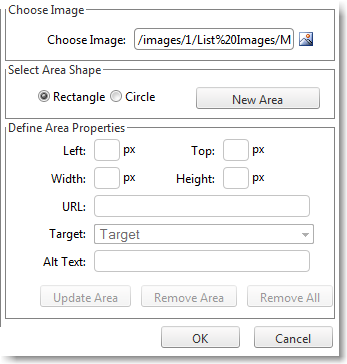
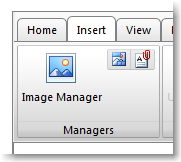
The Image Manager allows you to upload images, which are saved locally in the system. Once an image is uploaded it will show up on the Browse Files tab. To insert the image into your email, select the image and click on Insert. | Once an image is placed in your email, right-click on the image and click on Image Properties. This tool is very useful to configure the image settings, such as adding an Image Alt text (i.e. the text shown when an image is not shown), including a description, and constraining the image to its original width-height ratio, so that once you resize the image the proportions are not distorted. |
|  |
Intermediate-Advanced
Instead of locally saving your images into the system, you can choose to insert images from the web. This can be done by going into the HTML code and inserting an image tag.
Here's a basic example:
<img src="insert URL of image" alt="insert text which will be shown if image is blocked">
Inserting Dynamic Fields
How to insert a dynamic field into a message
To personalize an email message with recipient-specific information, you can use dynamic fields (also referred to as dynamic tags or merge tags). Dynamic fields retrieve any information (personal info, preferences, e-commerce data) stored in recipient fields. For example, if your recipient list contains the first names of your recipients in a recipient field called "firstname", you could insert the [firstname] dynamic field as "Dear [firstname]" in the first line of the email and each recipient will receive a message that opens with a personalized salutation, such as "Dear John". To add a Dynamic field to your message:
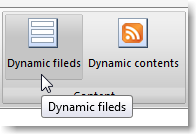
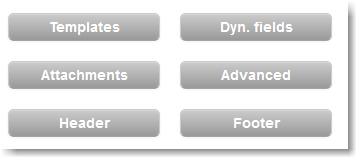
To edit the default value of the dynamic fields, click on Dyn. fields.
|  |
Dynamic fields containing a URL
Please note that if the field contains a URL, the URL should not contain the beginning HTTP:// or HTTPS://, which should instead be in the HTML code. In other words, the correct syntax for inserting a dynamic URL into a message is:
<a href="http://[mydynamicfield]">My link</a>
or for a secure URL:
<a href="https://[mydynamicfield]">My link</a>
If you instead use this syntax:
<a href="[mydynamicfield]">My link</a>
... the system will treat it as a relative link and will automatically add the URL to your control panel to the URL.
Profile Updates
To build and update recipient's information within your List, you can use the Profile Updates feature. This feature allows you to create a custom form that your recipients can fill out and update or add their info to your List.
Inserting Dynamic Content
Dynamic content allows you to display different content (banners, text, images, rss feeds, etc) into the email you are working on. To determine how to set the conditions to display different content to different recipients, you will have to be familiar with filters.
Adding a Subscribe/Unsubscribe Link
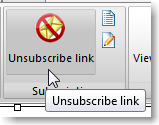
Within the Email editor, click on Insert > Unsubscribe link (view screenshot) to include the corresponding link to any highlighted text or image in your email.
Advanced - HTML
The unsubscribe link adds a <a href="http://%5Bunsubscribe%5D/"></a> to the highlighted text (or image) in your email.
Advanced Settings
The Advanced Settings allows you to further perform a number of tasks, including:
Most importantly, the Advanced button, further allows you to enable automated link tracking, which allows you to 1) select that all links in your email will be tracked, useful for the email statistics section and 2) insert a Google analytics campaign tracking code.
|
|
Testing your email draft with Quick send
Click on Quick send to send the email draft that you are working on to your email address. This way you can check how your email looks in the inbox.
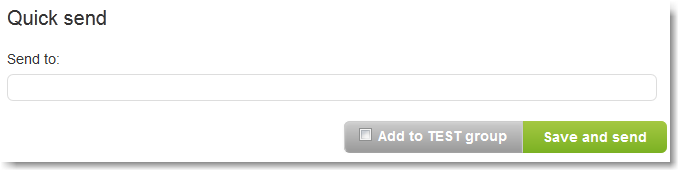
It is recommended to perform a couple of test sends of your email to popular inboxes such as Gmail, Outlook, and Yahoo! before sending the email to your full mailing list.
For additional ways to send a test mailing, view this page.
Problem with characters in the SMTP+ subject?
To avoid the problem of getting weird characters in the subject line of messages sent with SMTP+ it is recommended to encode the subject field with QuotedPrintable
For example:
The subject: Cartão Vodafone com Chamadas e SMS Grátis, pede já o teu! might be encoded in this way:
=?utf-8?Q?Cart=C3=A3o=20Vodafone=20com=20Chamadas=20e=20SMS=20Gr=C3=A1ti?=
=?utf-8?Q?s,=20pede=20j=C3=A1=20o=20teu!?=
(The second row starts with a space)
Each row has to start with defining the encode type and the charset used (in this case =?utf-8?Q?) and finish with ?=
Rows don't have to exceed 76 characters. The exceeding characters have to be added on a new row, separated with a space and close specifying the coding type and with ?=
For deliverability reasons we suggest to use the QuotedPrintable encode rather than the Base64