Using special links
To insert a form in a message you can use Special Links. Here is how to do it:
- Create a new email message
If you're using the drag and drop editor, you can link the form to a button, by selecting it and choosing Special Links in the "Action" section of "Content Properties". 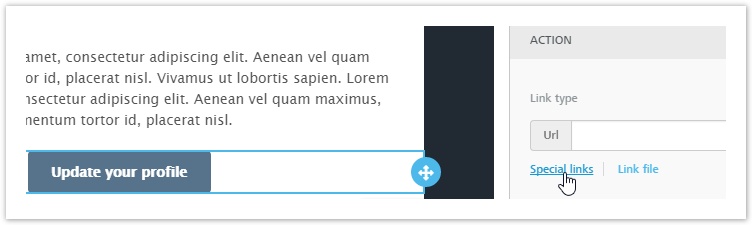
You may also link a profile update form to a portion of the text, by highlighting it, toggling the advanced toolbar with the arrow in the top right and selecting Special links > Profile update forms
- If you're using the HTML editor, you can link a part of the message to a profile update form using the "Profile Update link" found in Insert > Subscription
- If you're using the HTML editor, you can link a part of the message to a profile update form using the "Profile Update link" found in Insert > Subscription
- Finalize and save the email message
- Send it to a test group to simulate the entire process
- When you get the test email, fill out the form and submit it
- Confirm that the Recipient Fields associated with the recipient that updated the form have been successfully updated
Related content
Advanced content personalization
Advanced content personalization
More like this
Dinamic content RSS/ATOM
Dinamic content RSS/ATOM
More like this
Using Custom Rows
Using Custom Rows
More like this
Import
Import
More like this
How to use QR Code in MailUp
How to use QR Code in MailUp
More like this
Recipients
Recipients
More like this